
Care guide
Our top tips
Gained from years of installation experience and customer feedback, these practical pointers will keep everything performing well, looking great and prevent most kitchen-related issues.
1. A quick wipe solves almost everything
Got a splash or mark? Wipe it. Usually a clean dishcloth that’s been moistened (not wet) in warm water with a dash of washing-up liquid works best.
Be especially careful of red wine, oils, coffee, turmeric or acidic foods.
2. Anywhere water can sit or soak in is a risk
Joints are sealed, but standing moisture can still cause swelling over time, especially where worktops meet, along the bottom rail of shaker doors, inside a J-pull handle groove and on end panels that sit on the floor.
3. Drying takes seconds, and it really matters
A quick “wipe and dry” at the end of clearing up will prevent the cloudy bloom marks that appear when moisture is left to dry on the worktop.
Our top tip: e-cloth, the best product for wiping and drying
Microfibre cloths work well but, in our opinion, e-cloths reliably give the best wipe and a streak-free dry result.
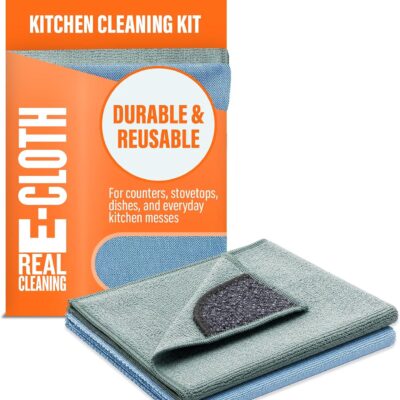
We only recommend products we use and rate ourselves. This link is provided purely for your convenience. Product images are the property of their respective brands.
4. Heat and steam are double trouble
- Use the extractor every time you cook and let it run on for a few minutes afterwards to clear the air.
- Position your air fryer or deep fryer near the extractor so it clears the steam faster.
- Pull countertop appliances such as toasters forward so heat and steam don’t affect the underside of wall units. Take care where there are children or vulnerable people in the home.
5. Chopping boards and trivets: good for worktops
Quartz, granite and ceramic are all harder than steel. Boards protect both the surface and your knives. The same applies to hot pans: always use a trivet or heat mat to protect the worktop from thermal shock and heat marks.
6. Keep humidity in check
Almost every activity at home generates moisture in the air, so use the extractor, open a window briefly and keep lids on pans where you can. This helps timber doors stay stable, keeps mould at bay and keeps everything in comfortable balance.
7. Mind the underside
Give items with a rough or unglazed base a soft coaster or pad to protect the worktop from fine scratches.
8. Appliance care that pays back
A little attention here and there, such as wiping fridge seals, popping extractor filters through the dishwasher, refreshing the dishwasher filter, descaling tap aerators and keeping vents clear, helps appliances run quietly and efficiently, and often catches small issues before they become bigger ones.
9. Floors love a quick daily sweep
Grit is the villain of great flooring. A two-minute sweep or vacuum protects everything, and a doormat will help stop grit spreading. See our LVT floor care guide for more.
10. Steam cleaners: a guaranteed way to cause damage
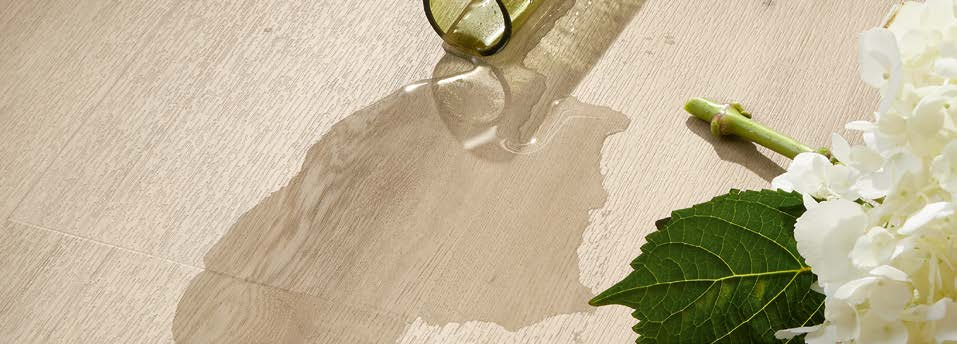
Do not use steam cleaners on floors, cabinets, doors or kickboards. High-pressure steam forces moisture into materials, softening substrates and breaking down adhesives and coatings. Swelling and delamination can follow surprisingly quickly.
11. Damp is fine, wet is not
Avoid leaving wet cloths or standing water against panels, plinths or end panels. When mopping floors, use a well-wrung mop and avoid flooding the area, as excess moisture can rise into plinths and floor-mounted end panels.
12. Avoid abrasive or chemical cleaners
Bleach, vinegar, acetone, scouring creams, solvent sprays and paper towels can dull, scratch or haze the surface of doors and worktops. Even Magic Eraser pads are mildly abrasive, so they can affect the sheen of a surface. Stick to warm water, a little washing-up liquid and a soft microfibre cloth. Generally, it’s all you need.
13. Look after the silicone
Silicone keeps water out of joints, upstands, sinks and edges. Over time it can shrink or develop small hairline gaps as the room settles. If you ever spot a section that looks tired, a simple re-bead keeps everything watertight and protects the cabinetry beneath.
For detailed guidance, see the furniture care guide. Not sure about something? Email a photo to hello@redwoodkitchens.co.uk.
Version 2026.05 · Last updated: 26 September 2026