
Your Kitchen
Furniture care
Your Redwood furniture is made for decades of everyday use. This guide covers everything you need – from the right kitchen environment and everyday cleaning to minor adjustments and caring for the finishes.
Jump to: Cabinets · Hinges & drawers · Frontal care · Specific finish care
Professionally installed, built to last
Your Redwood kitchen is built using robust cabinets with precision hardware and frontals made from high-quality engineered timber products with premium finishes. These materials are designed to provide many years of reliable use and enjoyment in a typical home environment.
Small seasonal movements due to temperature and humidity changes, along with hinge and drawer adjustments, are perfectly normal, especially in the first few months as everything settles in.
Suitable environment
Timber materials naturally absorb and release moisture in response to the surrounding environment. Keeping temperature and humidity reasonably stable will reduce natural movement in your furniture through the seasons.
These simple actions will help reduce humidity in the kitchen:
- Use the extractor whenever you cook and let it run for a few minutes after you finish.
- Open a window when possible to refresh the air, especially if air-drying clothes.
- Keep lids on pans when boiling to reduce excess steam.
Healthy indoor range:
- temperature approximately 18–22°C
- relative humidity ideally 40–60%.
Furniture Care
Cabinets
Cleaning
The cabinets are made from melamine-faced boards, providing a hygienic and easy-clean surface. While this finish is robust, it isn’t completely waterproof. Any spillage or standing water, especially at the joints, should be dried immediately, as prolonged exposure can cause swelling.
Avoid abrasive cleaners, solvent-based products, bleach, steam cleaning equipment, or strong chemicals that may damage finishes or protective coatings.
Start with a clean, damp cloth. If grease or food residue needs more, use a small amount of mild washing-up liquid, then wipe away any residue and dry the surface.
Dry the surface with a clean, absorbent cloth, which will prevent the cloudy bloom marks that appear when moisture is left to dry.
Redwood recommends: E-Cloth Kitchen Cleaning Kit
Microfibre cloths work well, but in our experience the E-Cloth system reliably gives the best clean and streak-free finish.
Use the Kitchen Cleaning Cloth to wipe away greasy splatters, crumbs, and over 99% bacteria from worktops, appliances, stainless, and more, adding only water. Follow with the Glass & Polishing Cloth for gleaming, fingerprint-free surfaces.
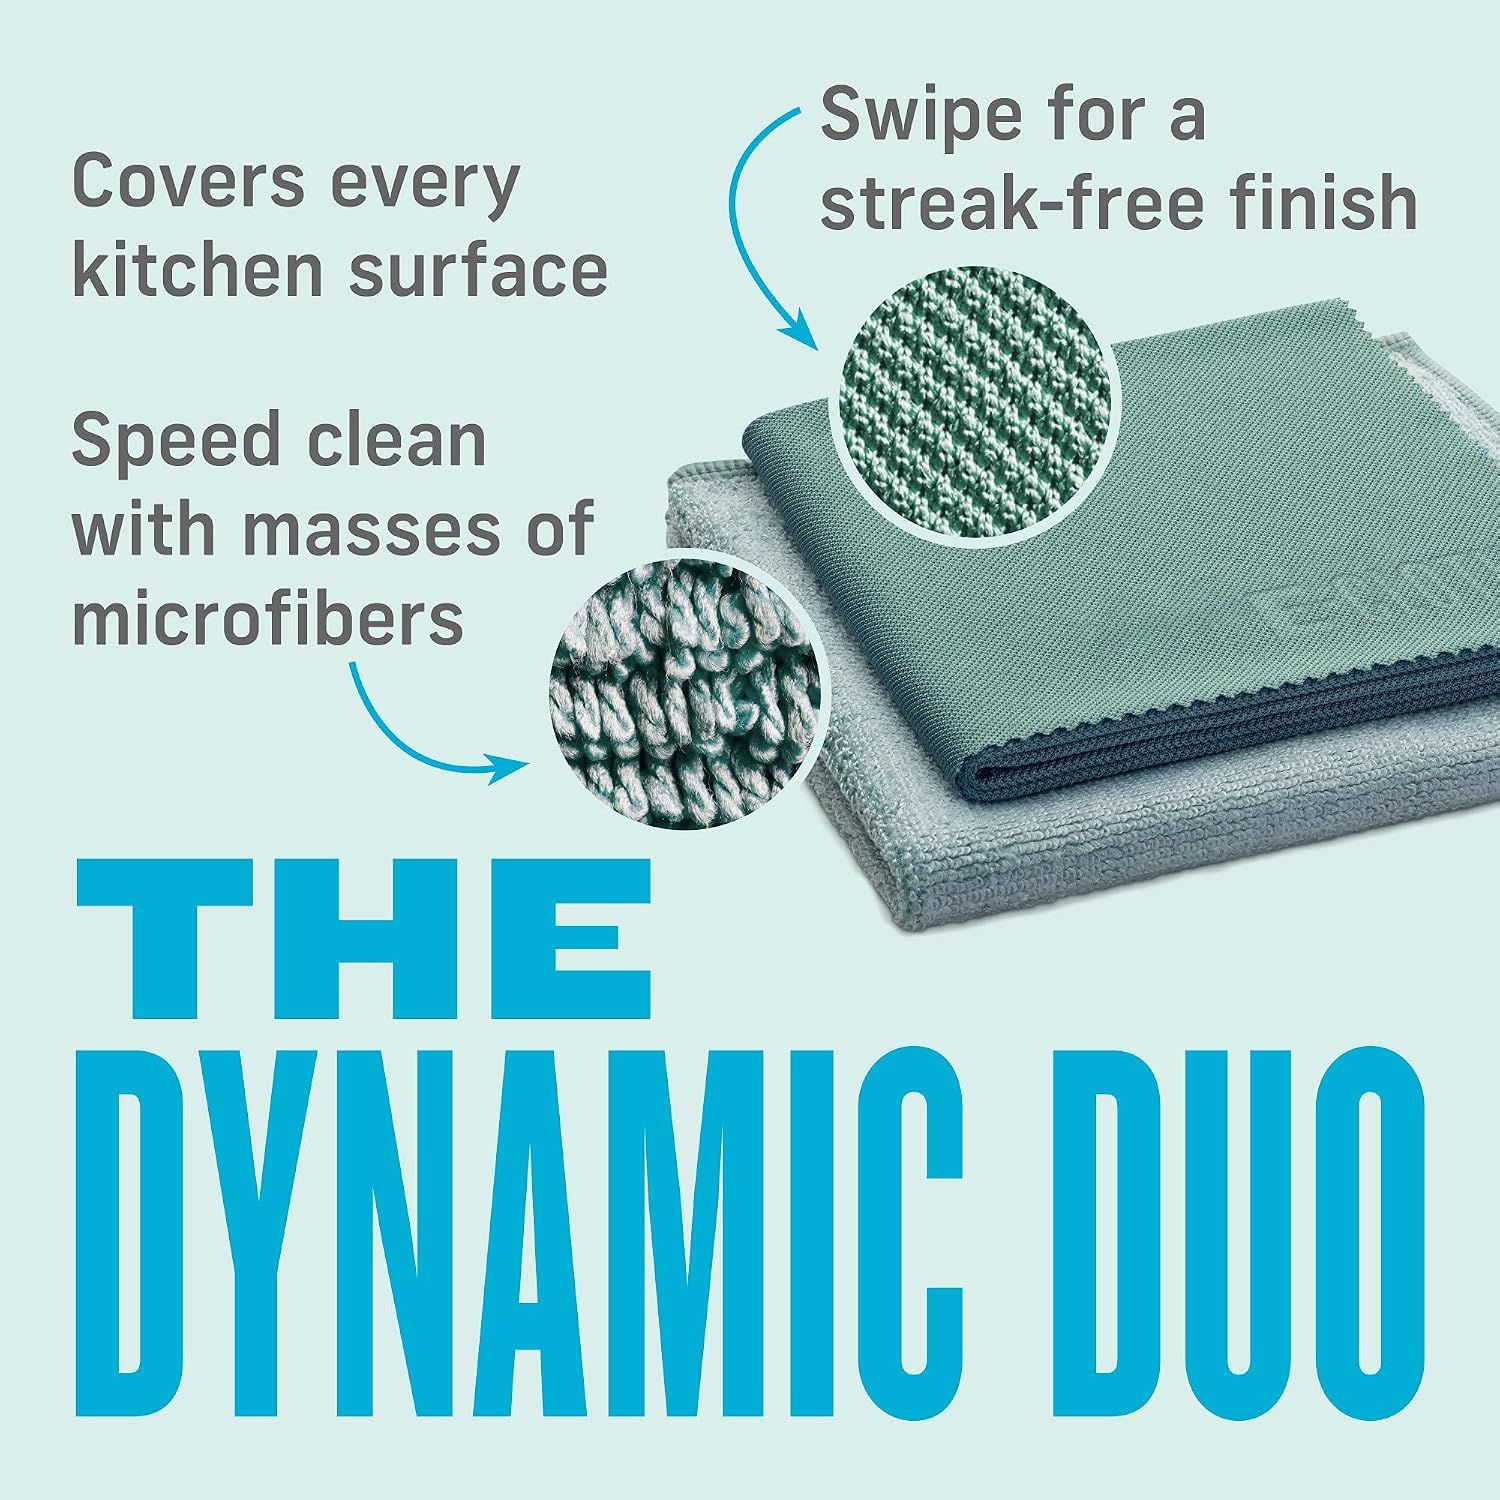
We only recommend products we use and rate ourselves. This link is provided purely for your convenience.
Shelves
Your cabinet shelves are adjustable to suit your needs. When loading cabinets, place the heaviest items on the base of the unit, with lighter items on the adjustable shelves. For access, safety and to reduce load on the fixings, we recommend that heavy stacks (for example, more than 8 dinner plates) are not stored in wall units.
Where possible, spread items evenly across the width and depth of the cabinet and shelves. Significant uneven loading may cause minor structural deflection, which in turn can affect door alignment.
Hinges and drawers
Your kitchen uses one of the two hardware systems below. Your furniture schedule confirms which. Hinges are designed to support and soft-close typical cabinet doors, and allow the door to be unclipped easily for cleaning or decorating. They are not designed to take excessive external force: children swinging or hanging on doors, for example, may damage the cabinet where the hinge is secured.
Drawer weight ratings are intended for typical, evenly distributed loads. Concentrated weight in a single area, or exceeding the stated capacity, may affect running performance or long-term reliability.
Blum hardware
Hinges: Blum Clip Top 110°. See how to adjust the hinge to realign the door, and how it clips on and off:
Drawers: Blum Legrabox soft-close. Weight capacity 40 kg for standard-height drawers and pan drawers up to 80 cm wide, and 70 kg for wider pan drawers.
See how drawer fronts are adjusted. For insertion and removal of the drawer box, watch from 0:34.
Hettich hardware
Hinges: Hettich Sensys 110°. See how the hinge adjusts and clips on and off:
Drawers: Hettich InnoTech Atira soft-close. Weight capacity 30 kg for standard-height drawers and pan drawers up to 60 cm wide, and 50 kg for wider pan drawers.
See how drawer fronts are adjusted. For insertion and removal of the drawer box, watch from 3:55.
Internal fitments
Keep internal pull-outs, drawers and organisers clean and free from spills. Wipe up moisture quickly and avoid overloading moving parts so everything continues to run smoothly. For specific care and maintenance of any pull-outs, refer to the manufacturer’s information in your handover pack.
Furniture Care
Frontals
General cleaning
Start with a clean, damp cloth. If grease or food residue needs more, use a small amount of mild washing-up liquid, then wipe away any residue and dry the surface. For advice on your particular frontal type, see the next section.
- Wipe in the same direction as any visible or raised grain pattern.
- Prevent moisture from accumulating at any joints as you clean (such as on 5-piece shaker doors).
- Avoid spraying cleaning products directly onto the surface.
- Do not use abrasive cleaners, strong chemicals, wax polish or other furniture cleaners. Even Magic Eraser pads (melamine foam) can change the sheen or dull the surface, which is why we don’t recommend them on cabinet doors or panels.
After cleaning, dry the surface with a soft, absorbent cloth. We do not recommend dusters (loose fibres can catch on timber) or paper towels, which can leave visible micro-swirls, particularly noticeable on smooth and gloss finishes.
Panels near heat and steam
Keep kettles, toasters, air fryers and other steam-producing appliances positioned forward on the worktop so steam doesn’t rise directly onto painted, vinyl or timber panels above. This simple action helps prevent softening or swelling, particularly under wall units.
Also keep an eye on your oven door seal. If it’s worn or leaking, escaping heat will affect the finish on adjacent panels and cabinet edges.
Light exposure and UV stability
The finishes used in your kitchen are formulated to be highly UV-stable, meaning they resist fading and retain their appearance well under normal household lighting. However, no furniture finish is completely unaffected by long-term sunlight, particularly in south-facing rooms or where roof lanterns or large patio doors increase light levels. Gentle tonal changes over the years are a natural characteristic and are not considered defects.
Wear points
Different door styles have natural touch-points and areas that benefit from a little extra care. Shaker doors need attention along the bottom rail and joints. J-pulls and true-handleless rails gather fingerprints and moisture within the recessed pull, while routed profiles have their own cleaning sensitivities. Understanding where your chosen style naturally collects moisture, dust or fingerprints will help you clean effectively and keep it all looking its best for years to come.
Furniture Care
Specific frontal care advice
Painted and lacquered finishes
Jump to: Painted & lacquered · Vinyl, foil & melamine · Glazed doors
What to expect. Painted finishes are chosen for their maintainability, elegance and character. Over time you may notice fine hairlines at joints, small settlement marks, or a gentle softening around edges. These are natural characteristics of painted furniture as the materials move with temperature and humidity changes in the home.
Painted and timber-based finishes also respond naturally to sunlight over time. UV light can gently warm, soften or lighten the colour of doors, particularly on clear-lacquered timber where the natural grain remains visible. This is a normal characteristic of real timber and painted furniture, and is not a defect but part of how painted and lacquered finishes mature with age.
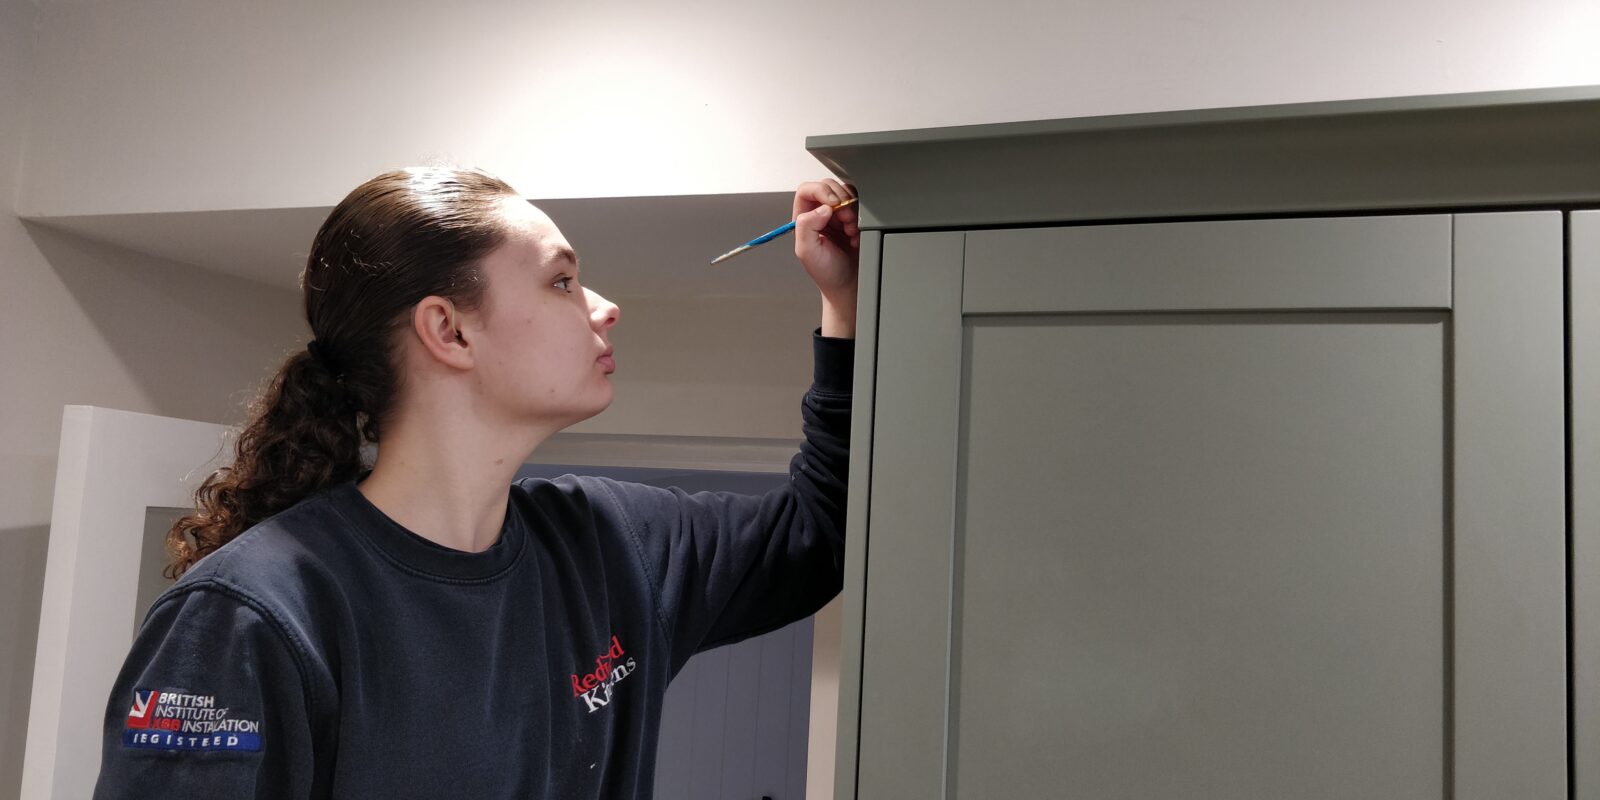
Touch-ups (painted only). Small chips or wear points on painted doors can often be improved with the supplied touch-up paint and a fine artist’s brush. Apply sparingly and build up slowly for a neat result.
Vinyl, foil and melamine finishes
Protective film removal. Many vinyl fascias are made with a protective film, which is removed when installation has been completed. At this point the vinyl has not fully cured, so during the first month a light rub to remove a splash is fine, but avoid polishing or vigorous cleaning, which could cause streaking or imprinting.
Gloss vinyl. Gloss vinyl surfaces are very smooth and reflect light uniformly, so they look their best when cleaned with a clean, soft, damp microfibre cloth. Never use paper towels on gloss finishes, as they can leave swirl marks in the vinyl.
Redwood recommends Vuplex on new and existing plastic and gloss vinyl surfaces to prevent ageing, add protection against swirling and micro-scratches, and repel dust. See vuplex.co.uk for more information.
Supermatt vinyl. Supermatt finishes (sometimes known as Serica) offer a refined low-sheen surface that doesn’t reflect light in one single direction; instead it redirects light in many directions. The risk when cleaning a matt surface is that it’s inadvertently made smoother, increasing light reflectance, either through the rubbing action, using an abrasive cleaner, or using cleaners that contain waxes, silicones or oils designed to increase shine. Clean with a clean, soft, damp microfibre cloth.
Redwood recommends Matte Maxx with a clean, soft microfibre cloth on Supermatt finishes. It is a safe, non-abrasive, silicone- and wax-free cleaner that creates an anti-static barrier with no colour distortion and, used regularly, will extend the life of matt finishes and keep them looking great. See vuplex.co.uk for more information.
Other vinyl, foil and melamine finishes. Just use a soft microfibre cloth that’s been moistened (not wet) in warm water with a dash of washing-up liquid. We do not recommend paper towels to wipe or dry, as they can leave swirl marks that become visible in bright light.
Glazed doors
Daily care. Use a non-abrasive glass cleaner sprayed onto a cloth, not directly onto the door, to avoid streaking or moisture creeping into the frame. Clean the frame separately using the method above for its material type.
Acrylic glass (if supplied). Some glazed doors use acrylic instead of traditional glass. Acrylic is lighter but more susceptible to fine surface marks, so always use a soft microfibre cloth and avoid paper towels. For the best results, Matte Maxx is an excellent specialist cleaner for acrylic surfaces: it removes fingerprints and smudges without scratching or increasing shine.
When to call Redwood
Most everyday cleaning and maintenance is straightforward and is covered in these guides. If something appears abnormal rather than simply dirty or worn — for example movement, damage, persistent staining or something that does not respond to the recommended method — Redwood can help you work out what is happening.
Minor adjustment is part of normal ownership. Hinges and drawers may need occasional realignment as a kitchen settles and is used. The adjustment videos above show how to make these corrections if you are comfortable doing so.
If you do contact us, a close-up photograph and a wider photograph will usually help us understand what is happening. You can email them to hello@redwoodkitchens.co.uk.
The Redwood Kitchen Care Guides:
Version 2026.09