
Your Kitchen
Worktop care
Your worktops are the busiest surface in the kitchen. A few simple habits will keep them looking good, protect the areas most at risk and help you deal with marks before they become problems.
Jump to: Everyday cleaning · Protecting the surface · Marks, stains & finish · Care by material · Splashbacks & upstands
Beautiful, hard-working surfaces
Your worktops are where you prepare, cook, serve, work and gather. Whichever material you’ve chosen, it has been selected, fabricated and installed to give you many years of everyday use and enjoyment.
Every worktop material has its own character. This guide starts with the care habits that suit most worktops, then covers the specific advice for quartz, ceramic, solid surface, timber and laminate.
For product-specific information, refer to the manufacturer’s care information in the Worktops section of your handover pack. Where that guidance differs from this page, follow the manufacturer’s instructions.
Everyday cleaning
For most worktops, the best routine is also the simplest: clean → rinse → dry.
- Clean with a damp microfibre cloth. Water alone deals with most crumbs and splashes. If you need washing-up liquid, a small drop is plenty.
- Rinse the cloth in clean water and wipe again to lift away any detergent.
- Dry with a second, dry cloth.
The drying step makes a real difference. Detergent, grease and hard-water minerals left to dry on the surface can slowly build into a thin film, making a worktop look dull or streaky over time.
Redwood recommends: E-Cloth Granite & Stone Cleaning Kit
Microfibre cloths work well, but in our experience the E-Cloth system reliably gives the best clean and streak-free finish.
Use the Stone Cleaning Cloth to remove grease, grime, and over 99% of bacteria from granite, marble, enamel, and all stone surfaces, using only water. Follow with the polishing cloth to absorb moisture, water spots, and fingerprints for a satisfying shine in just a few swipes.
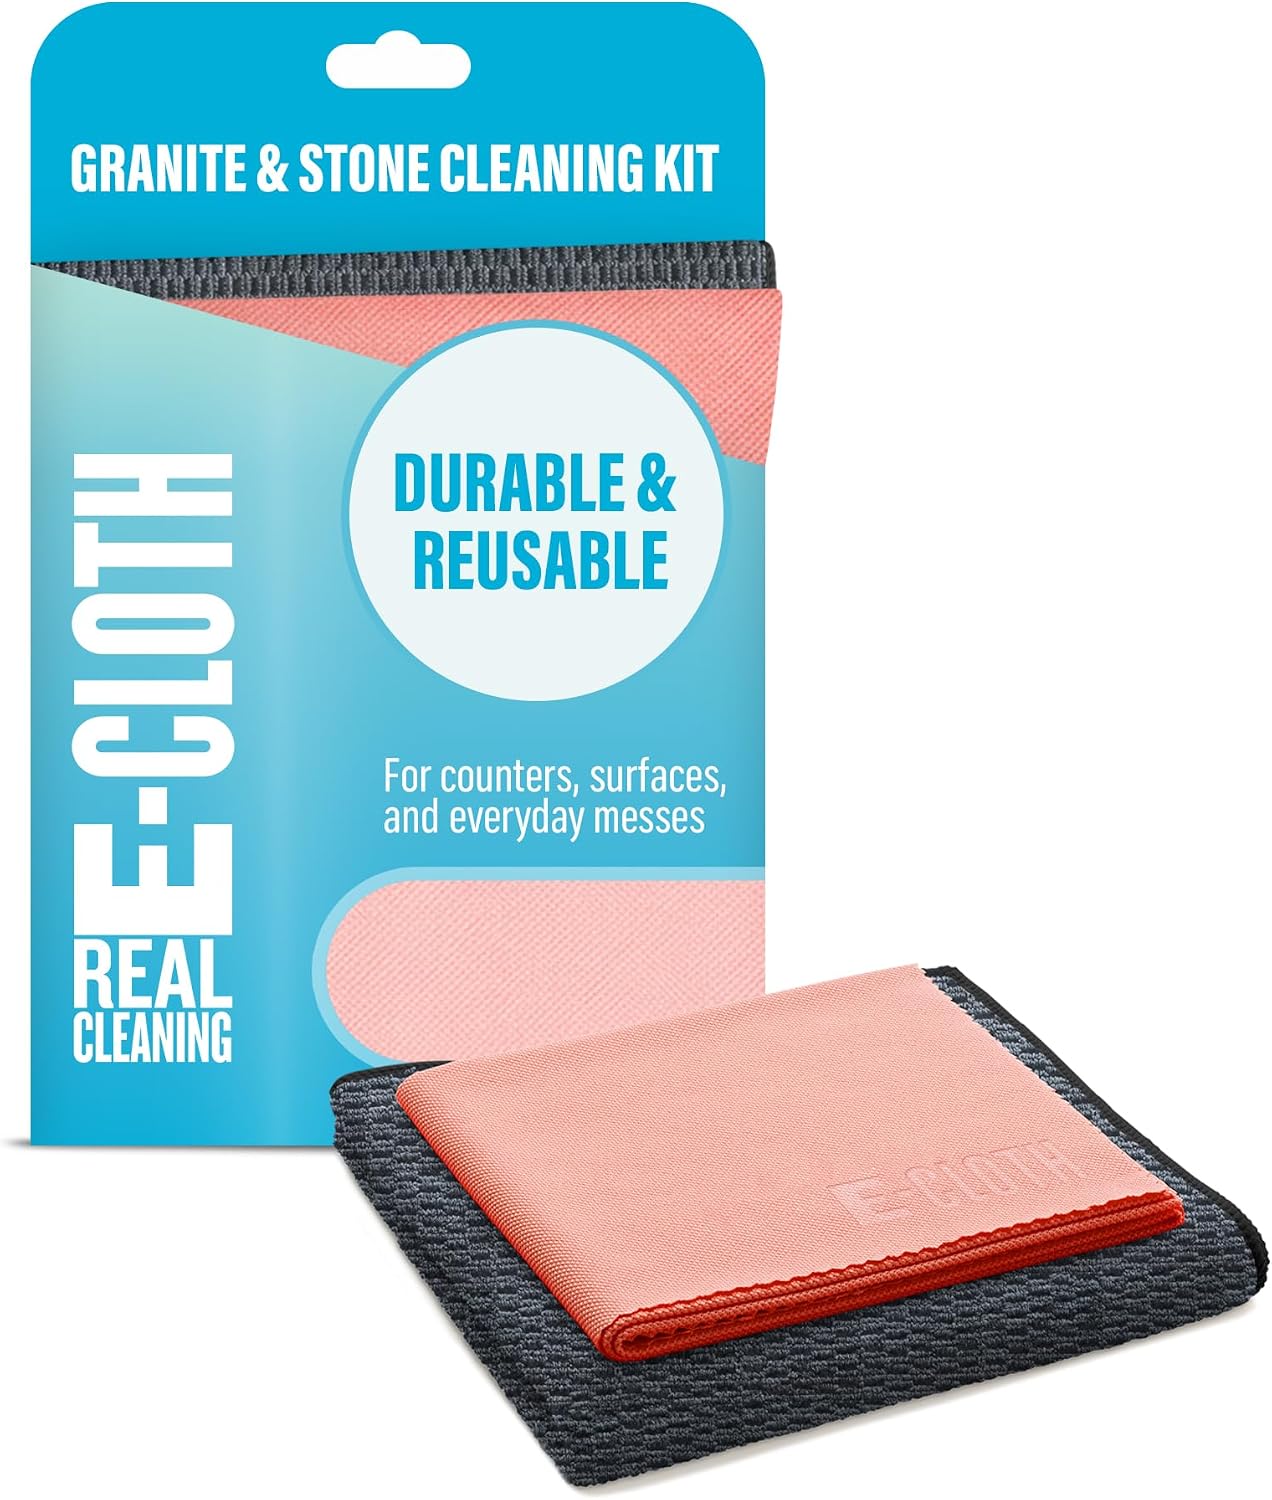
We only recommend products we use and rate ourselves. This link is provided purely for your convenience.
Worktop Care
Protecting the surface
Heat, knives and everyday use
Always use a trivet or heat mat under hot pans, trays and dishes, even on materials described as heat resistant. A concentrated hot spot can heat one area much faster than the rest, creating thermal shock, scorch marks or discolouration.
Air fryers, slow cookers and similar appliances also give off heat from their base for long periods, so they are best used on a heat mat.
Use a chopping board for all food preparation. Quartz, ceramic and stone are harder than steel and can quickly blunt knives. Timber, solid surface and laminate are softer and can mark. A board protects both the worktop and your knives.
Finally, give items with a rough or unglazed base a soft coaster/pad to protect the worktop from fine scratches.
Spills and stains
Most worktops resist staining well, and anything wiped up promptly rarely leaves a trace. A few foods and liquids are worth dealing with straight away, particularly on lighter colours and timber:
- red wine, coffee, tea and fruit juice
- beetroot, berries and pomegranate
- turmeric, curry and tomato-based sauces
- cooking oils
- citrus, vinegar and other acidic foods
- wet metal tins and cast-iron pans, which can leave rust marks, especially on timber
Around the sink and hob
These areas get the most wear and tear, so they will benefit from a little extra attention.
- Give the sink edge, tap base and drainer grooves a quick wipe and dry after washing up.
- Avoid leaving wet cloths, sponges or a washing-up bowl sitting on the worktop.
- Deal with limescale around the tap early, before it builds up.
- Keep pans centred on the hob so heat is not directed sideways onto the worktop or upstands.
- Lift hot pans onto a trivet rather than sliding them off the hob onto the worktop.
- On gas hobs, keep the flame under the base of the pan rather than licking up the sides.
The narrow strips of worktop in front of and behind sink and hob cut-outs are more vulnerable than a broad uninterrupted area, so avoid leaning heavily on them.
Joints and silicone
Worktop joints are bonded and sealed, and silicone protects the edges around sinks, upstands and walls. Like bathroom sealant, silicone needs occasional attention.
Every six to twelve months, check the silicone around the sink, the hob and the wall edges. If a section looks tired, split or discoloured, a fresh bead of kitchen-and-bathroom silicone keeps everything watertight. Remove the old bead completely first. In the meantime, simply avoid leaving water sitting on joints.
Small amounts of movement at joints and seals are normal as a new kitchen and home settle in. If a joint opens noticeably, let us know.
Edges, weight and overhangs
Worktop edges and corners are the most exposed to life’s knocks. Take a little extra care with heavy pans near edges around the hob and sink, especially ceramic worktops.
Worktops aren’t designed to take a person’s weight in one spot. That matters most around the sink and hob, and on breakfast bar overhangs with no cabinet underneath.
Please don’t sit, stand or kneel on them; a hop-up step is the safer way to reach wall units.
What to avoid
Some everyday household products are too harsh for worktops and can dull, etch or permanently mark the surface. Unless your manufacturer specifically says otherwise, avoid:
- bleach and other chlorine-based cleaners
- oven cleaner, drain unblocker and caustic soda
- concentrated descalers and coffee-machine cleaners
- nail varnish remover, paint stripper, white spirit and other solvents
- rust removers containing hydrofluoric acid
- scouring powders, wire wool and green scouring pads
- polishes, waxes and ‘shine’ sprays unless the worktop manufacturer recommends them
- steam cleaners, which can force moisture into joints and sealants
If any of these products touch the worktop accidentally, wipe them off straight away and rinse with clean water.
Worktop Care
Marks, stains and finish
Treating marks
Not every mark is a stain, and not every line is a scratch. It is worth working out what you are looking at before you treat it.
- Grease or food film. Repeat the everyday routine with a little more washing-up liquid, then rinse and dry.
- Limescale and water marks. Cloudy rings often form around the tap. Use a diluted limescale remover only where your worktop manufacturer approves it, then rinse and dry thoroughly.
- Metal marks. Grey lines from pans and utensils can look like scratches but may simply sit on the surface. Follow the guidance for your worktop material below.
- Genuine scratches. A scratch can usually be felt with a fingernail. On solid surface and timber, many scratches can be restored.
If you are unsure what a mark is, start with the gentlest cleaning method and check the manufacturer’s care guidance before using anything stronger. If the mark remains difficult to identify, Redwood can help.
Restoring the showroom finish
If a polished quartz or ceramic worktop starts to look dull, the original surface finish has usually not disappeared. More often it is being obscured by a fine film of detergent, grease or hard-water minerals. To bring it back:
- Clean thoroughly with warm water and a little washing-up liquid.
- If hard water is the cause, use a diluted limescale remover that your manufacturer approves.
- Rinse two or three times with a cloth rinsed in clean water.
- Dry and buff with a clean, dry cloth, then look again in daylight.
In most cases that is all it takes. Polished quartz and ceramic do not normally need routine sealing or polishing. Their finished appearance is created during manufacture, so care is primarily about keeping that surface clean and free from residues.
If normal cleaning and thorough rinsing do not restore an even finish, check the care information supplied with your worktop before using a specialist polish, sealant or surface treatment.
Worktop Care
Care by material type
Jump to your type of worktop: Quartz · Ceramic · Acrylic solid surface · Timber · Laminate
Quartz
Quartz such as Silestone or Redwood Select Quartz, is a non-porous engineered stone made from natural quartz bound with resin. It needs no sealing and very little day-to-day care. Natural variation in pattern, tone and particle distribution is part of its character.
Cleaning: follow the everyday routine above. Some manufacturers offer their own dedicated cleaners, such as Cosentino’s Q-Action for Silestone. Use only products approved for your worktop.
Marks: treat them as described in ‘Treating marks’, using any specific product your manufacturer recommends.
Heat: the resin in quartz is sensitive to heat, so a trivet is essential. The areas near the hob and sink, and the edges, are the most vulnerable.
Finishes: this guidance is written principally for polished finishes. Honed, matt, leathered and textured quartz can show marks differently and may require different care, so follow the manufacturer’s instructions.
Ceramic
Ceramic, sintered stone and ultra-compact surfaces such as Dekton are fired or manufactured at very high temperatures. They are extremely hard, non-porous and highly resistant to stains and household use, but edges can still chip and thermal shock can still cause damage.
Cleaning: follow the everyday routine. If you have used detergent, rinse thoroughly; detergent residue is a common cause of streaking on ceramic.
Marks: metal transfer from pans can occur and may look like a scratch. Use only the cleaning method recommended for your product. Avoid detergents containing waxes or polishing additives, which can leave a film over time.
Edges: ceramic is hard but brittle, so a sharp knock on an edge or corner can chip it. Use a trivet despite the material’s high heat resistance.
Finishes: as with quartz, non-polished finishes may need different care. Follow your manufacturer’s instructions.
Acrylic solid surface
Solid surface is a non-porous acrylic material with near-invisible joints. Over time its finish mellows to a soft satin patina, which is perfectly normal. One of its strengths is that light marks and scratches can often be restored.
Cleaning: follow the everyday routine or use your manufacturer’s solid-surface cleaner. If a surface-guard product was supplied with your worktop, use it as directed.
Light marks and scratches: these can often be removed with the non-scratch pads in the manufacturer’s care kit, working gently and starting with the least abrasive option. On dark or high-gloss finishes, follow the manufacturer’s refinishing sequence carefully, as the order of abrasives matters.
Acrylic integrated sink bowls: tea and coffee staining can often be treated with a sterilising solution such as Milton:
- Fill the bowl, add Milton as directed, and leave it for a few hours or overnight.
- Then rinse thoroughly.
- Use it in the bowl only, not on the worktop.
Heat: solid surface is more sensitive to heat than stone. Always use a trivet with rubber feet and run the cold tap when pouring boiling water into an integrated solid-surface sink.
Timber
Solid timber is a natural, living material. With regular oiling it develops a rich patina, and minor marks blend in over time. It also mellows in the light, so while it’s new, move items around occasionally to help it colour evenly.
Timber responds to the moisture in the air, expanding and contracting slightly across its width. Your worktop has been fitted to allow for this.
Everyday care:
- Wipe up spills straight away. The oil finish is water resistant, not waterproof.
- For routine cleaning, use a well-wrung damp cloth and dry afterwards. If more cleaning is needed, use a mild cleaner suitable for oiled timber.
- Avoid bleach, vinegar and strong detergents.
- Wet iron or steel pans can leave black marks on oak, so place them on a board or trivet.
Repairs: light surface marks often become less noticeable after maintenance oiling. Deeper marks can usually be repaired, but avoid aggressive sanding unless you are confident about the finish system and the amount of material being removed.
How to know when to re-oil
Your worktop is given two coats of food-safe worktop oil during installation, usually Osmo Top Oil or Hölzöl Worktop Oil. It should therefore not need re-oiling immediately after handover. The product used is recorded in your handover pack; always re-oil with the same product.
- water no longer forms neat droplets on the surface
- the timber begins to absorb water or darken when wet
- the surface starts to look dry, pale or tired
- the surface begins to feel rough, particularly around the sink and other frequently wet areas
TIP – The water test: on a well-oiled worktop, water sits in neat raised droplets. When it starts to spread or darken the wood, the surface is ready for some maintenance. Areas around the sink and other frequently wet zones may need attention sooner than the rest of the worktop.
When it is time to re-oil
- Make sure the surface is clean and completely dry. If the grain has lifted and feels rough, lightly de-nib it along the grain with P240 abrasive paper, then remove all sanding dust before oiling. Do not use wire wool; small steel fibres can become trapped in the timber and may rust or react with the wood.
- Apply a thin, even coat, working along the grain.
- Give extra attention to the sink edges, drainer grooves, around the tap and the end grain.
- Leave it to soak in for the time shown on the tin, then wipe off all the surplus. Thin coats work far better than one heavy one.
TIP – Oil in the evening: Oiling after the last use of the kitchen for the day gives the surface plenty of undisturbed drying time overnight. Follow the drying time stated on the oil before using the worktop again.
REDWOOD RECOMMENDS: OSMO APPLICATOR & PAD
Osmo’s oil applicator and pad make it easy to spread a thin, even coat and avoid over-oiling.
⚠ Safety: Cloths and pads soaked in oil can self-heat as they dry. Lay them flat outdoors to dry, or soak them in water in a sealed container before throwing them away. Never leave them bunched up indoors.
Laminate
Laminate has a tough decorative surface over a wood-based core. It looks after itself well; the two things to watch are heat and water at the joints.
Heat: hot pans can scorch or blister laminate, so always use a trivet.
Water at joints: the surface is water resistant, but the core isn’t. It’s easy to leave water standing without realising it. A common example is rinsing pots, putting them down wet on the worktop, ready to wash them properly later.
Everyday care: follow the everyday routine, using a mild household cleaner only if needed. Always use a chopping board. On matt finishes, avoid repeatedly sliding objects across the same area because this can polish shiny patches into the surface.
Splashbacks and upstands
- Stone, ceramic and solid surface: clean as you would the matching worktop.
- Glass: use a non-abrasive glass cleaner sprayed onto the cloth, not directly onto the glass.
- Aluminium composite: use lukewarm water and a microfibre cloth only, and allow the panel to cool before cleaning. Keep kettle spouts turned away from it.
- Behind the hob: wipe grease splashes while they are fresh; they become much harder to remove after repeated heating.
When to call Redwood
Most everyday cleaning and maintenance is straightforward and is covered in this guides. If something appears abnormal rather than simply dirty or worn — for example movement, damage, persistent staining or something that does not respond to the recommended method — Redwood can help you work out what is happening.
If you do contact us, a close-up photograph and a wider photograph will usually help us understand what is happening. You can email them to hello@redwoodkitchens.co.uk.
The Redwood Kitchen Care Guides:
Version 2026.09